There is homemade vanilla, and then there is the vanilla extract Mother Jar.
You know the one. The big, beautiful jar sitting behind all those smaller bottles, looking important. She isn’t there just for decoration either. A Mother Jar can become the hardworking backbone of your homemade vanilla pantry.
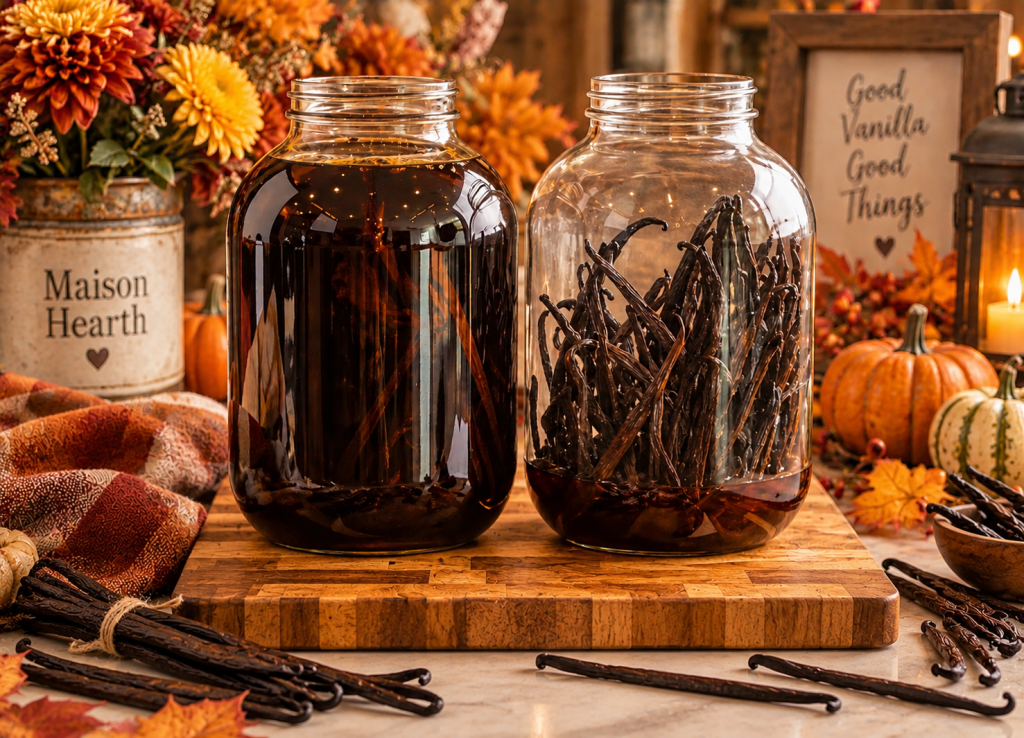
I love keeping my Mother Jar all by herself. No crowding her into a collection of little bottles. No hiding her behind the flour. She gets her own spot because once she is established, she has a job to do.
A vanilla extract Mother Jar gives you a larger supply of homemade vanilla that you can maintain over time. You can use it to refill smaller bottles, prepare vanilla for gifts, and keep plenty on hand when baking season comes knocking.
And despite that rather impressive name, starting one is surprisingly simple.
Grab the big jar.
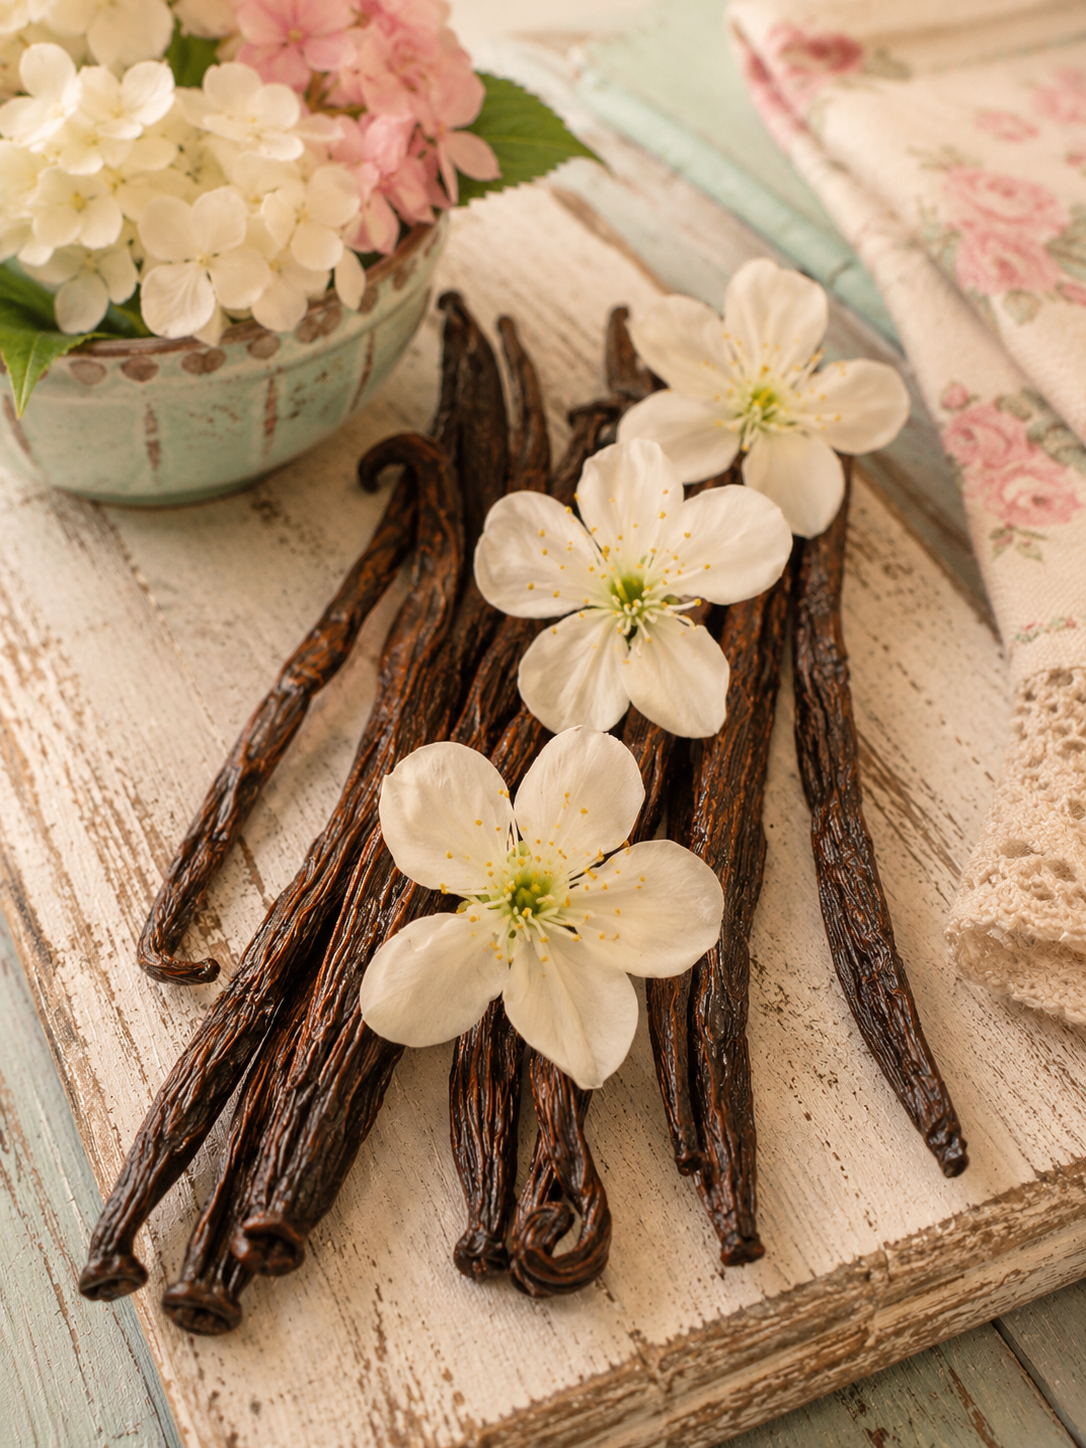
Grab the vanilla beans.
And grab the booze.
We’re making Mother.
Amazon Associate Disclosure: This post may contain Amazon affiliate links. If you purchase through one of my links, I may earn a small commission at no additional cost to you. As an Amazon Associate I earn from qualifying purchases.
What Is a Vanilla Extract Mother Jar?
A vanilla extract Mother Jar is a large, ongoing batch of homemade vanilla extract.
Instead of making several small bottles and starting over every time you run low, you keep a larger amount of vanilla extract in one dedicated jar.
Once the vanilla matures, you can pour some into a smaller bottle for everyday baking while keeping the Mother Jar tucked away in the pantry.
As you use the extract, you can replenish the jar with alcohol. Additionally, you can add fresh vanilla beans when needed.
Essentially, she’s headquarters.
Those adorable little vanilla bottles get dressed up, tied with ribbons, and given away at Christmas.
Mother stays home and works.
I respect that.
Why Keep a Mother Jar?
If you’re only making one small bottle of homemade vanilla, you certainly don’t need a Mother Jar.
However, once you start making vanilla regularly, a larger ongoing jar can make things much easier.
For me, part of the appeal is simply knowing it’s there. Cookies need vanilla, cakes need vanilla, cupcakes need vanilla, and buttercream definitely needs vanilla.
Then November rolls around and apparently every recipe in the house suddenly needs two teaspoons.
As a result, that little bottle starts looking downright tiny.
That’s when the vanilla extract Mother Jar earns her keep.
Not only can you use mature extract from the Mother Jar to refill your everyday bottle, but you can also prepare several gift bottles without wiping out your personal supply.
What You Need to Start a Vanilla Extract Mother Jar
The supplies are wonderfully simple.
You’ll need:
- A large, clean glass jar with a tight-fitting lid
- Quality vanilla beans
- Alcohol suitable for vanilla extraction
- A small kitchen scale
- A label
- Time and patience
You don’t need fancy equipment.
However, I do recommend using a kitchen scale for your vanilla beans instead of relying only on bean count.
We’ll get to that in a minute.
Choosing Your Mother Jar
Your Mother Jar doesn’t have to be enormous.
Choose a glass jar based on the amount of vanilla you actually plan to make and use.
For example, a quart-size jar is a nice place to start. If you’re making homemade vanilla for gifts or baking constantly, you may eventually decide to go larger.
Look for a jar that:
- Is made from food-safe glass
- Has a tight-fitting lid
- Is easy to pour from
- Gives the beans enough room
- Fits comfortably in your storage space
Most importantly, make sure the jar is clean and completely dry before you begin.
I prefer clear glass because I love watching the transformation happen.
Clear alcohol slowly turns golden.
Golden turns amber.
Then one day you pull that jar out of the pantry, and it’s dark, rich, and absolutely gorgeous.
Part science experiment.
Part pantry decoration.
Entirely my kind of kitchen project.
How Much Alcohol Should You Use?
For homemade vanilla extract, choose an alcohol that is at least 35% alcohol by volume, or 70 proof.
Many home vanilla makers use 80-proof alcohol because it’s readily available and works well for extraction.
Vodka is especially popular because its neutral flavor allows the characteristics of the vanilla beans to take center stage.
However, vodka isn’t your only option.
You can also experiment with bourbon or rum. Both can add their own flavor notes to the finished vanilla.
If you’ve been following along with The Vanilla Pantry, we’ve already talked about choosing alcohol for homemade extracts.
Apparently we started a baking series and accidentally built a tiny speakeasy in the pantry.
These things happen.
How Many Vanilla Beans Go Into a Mother Jar?
Here’s where I want you to put down the bean-counting calculator.
Weigh your vanilla beans.
Beans can vary tremendously in size, thickness, and moisture. Therefore, saying “use ten beans” isn’t particularly precise.
Ten small beans and ten big, plump beans can weigh very different amounts.
For an easy home vanilla ratio, I like using approximately:
1 ounce of vanilla beans for every 8 fluid ounces of alcohol.
That gives you an easy starting point:
| Alcohol | Vanilla Beans |
|---|---|
| 8 fl. oz. | About 1 oz. |
| 16 fl. oz. | About 2 oz. |
| 32 fl. oz. | About 4 oz. |
A small kitchen scale makes this ridiculously easy.
And once you start buying vanilla beans by weight, you’ll wonder why we ever tried counting the little rascals in the first place.
How to Start a Vanilla Extract Mother Jar
tarting your vanilla extract Mother Jar is surprisingly easy.
First, wash your jar and allow it to dry completely.
Next, weigh the vanilla beans according to the amount of alcohol you’re using. You can leave the beans whole, split them lengthwise, or cut them into smaller pieces.
After that, place the beans inside the jar and pour the alcohol over them.
Most importantly, make sure every bean stays submerged.
Once everything is inside, secure the lid and give the jar a gentle shake.
Finally, add a label with the date, bean variety, bean weight, alcohol type, and alcohol amount.
That’s it.
Your Mother Jar is officially underway.
Now comes the hardest ingredient of all.
Patience.
Label That Jar
Please label your Mother Jar.
You may be absolutely certain you’ll remember everything.
You won’t.
Write down:
- Starting date
- Vanilla bean variety
- Weight of the beans
- Type of alcohol
- Amount of alcohol
If you’re feeling particularly organized, keep a little vanilla notebook.
I know.
A notebook dedicated entirely to vanilla sounds excessive.
Until you have four jars of mysterious brown liquid sitting in your pantry and can’t remember which one contains bourbon.
Then suddenly that notebook looks brilliant.
Where Should You Store a Mother Jar?
Store your vanilla extract Mother Jar in a cool, dark location away from direct sunlight and excessive heat.
A pantry or kitchen cabinet works beautifully.
Meanwhile, there’s no need to refrigerate homemade vanilla extract. Instead, tuck the jar somewhere safe where you can easily check on it from time to time.
I actually love opening the pantry and seeing that big jar sitting back there.
Over time, the color deepens, the aroma changes, and the whole thing starts looking a little more impressive.
She’s quietly getting better with age while accomplishing something without leaving dirty dishes in the sink.
Frankly, that’s enough to earn her favorite-child status some days.
Should You Shake Your Mother Jar?
Give the jar a gentle shake occasionally, especially during the beginning stages of extraction.
You don’t need an elaborate schedule.
However, shaking the jar periodically moves the alcohol around the beans and gives you an opportunity to check everything.
Make sure the beans remain submerged.
Check the lid.
Admire the color.
Give her a little shake.
Then back into the pantry she goes.
How Long Does a Vanilla Extract Mother Jar Take?
This is not an overnight project.
While you’ll notice the alcohol beginning to change color fairly quickly, color alone doesn’t mean your vanilla is finished.
Give homemade vanilla at least several months to extract.
Six months is a good minimum goal for many home batches. However, letting your vanilla mature for a year or longer can produce an even richer flavor.
That’s part of what makes homemade vanilla special.
You can’t rush it.
You start the jar knowing future-you is going to get the reward.
How Do You Maintain a Vanilla Extract Mother Jar?
Once your vanilla extract Mother Jar has matured, maintaining it is pretty simple.
Pour some mature vanilla into your everyday baking bottle when you need it.
Then you can replenish the Mother Jar with additional alcohol.
But there’s an important detail here.
A Mother Jar isn’t a bottomless vanilla fountain.
Every time you remove mature extract and replace it with fresh alcohol, you’re diluting the mature extract.
That fresh alcohol needs time with the vanilla beans.
Therefore, don’t remove half the jar, refill it with vodka, and expect the entire thing to taste like fully matured vanilla tomorrow.
Mother works hard.
She does not perform miracles.
When Should You Add More Alcohol?
Add alcohol when you’ve removed some of your mature vanilla or when the liquid level drops.
Most importantly, keep your vanilla beans submerged.
If you’ve removed only a small amount, topping off the jar shouldn’t dramatically change things. Still, give the fresh alcohol time to mingle with the mature vanilla and beans.
If you remove a significant amount, however, the jar will need more time.
The more fresh alcohol you add, the more extraction needs to happen before the jar returns to its previous strength.
When Should You Add More Vanilla Beans?
This is where maintaining a Mother Jar becomes important.
The original beans cannot provide an unlimited amount of vanilla flavor forever.
If you continually remove extract and replace it with fresh alcohol, you’ll eventually need to add fresh vanilla beans.
There isn’t one magic date on the calendar.
Instead, pay attention to your jar.
Consider adding fresh beans when:
- You’ve added a significant amount of new alcohol
- The vanilla aroma seems weaker
- The flavor isn’t as rich as it once was
- You’ve been maintaining the same beans for a long time
- You want to strengthen your extract
Adding fresh beans periodically helps keep your vanilla extract Mother Jar productive.
Otherwise, you’re eventually just introducing fresh vodka to some extremely tired vanilla beans.
Do You Remove the Old Vanilla Beans?
Eventually, yes, you can.
Over time, vanilla beans give up much of what they have to the alcohol.
Therefore, older beans may eventually contribute very little to your extract.
You don’t have to empty your Mother Jar and start over.
Instead, think of the jar as an evolving batch.
Fresh beans go in.
Older beans eventually come out.
Alcohol gets replenished.
Mature vanilla gets used.
The Mother Jar continues.
Keep a Mother Jar Record
Because you may keep a Mother Jar for years, keeping a simple record is incredibly helpful.
You can track:
- When you started the jar
- Which vanilla beans you used
- Original bean weight
- Original alcohol amount
- Alcohol type
- When you added additional beans
- How many ounces of beans you added
- When you replenished the alcohol
- Approximately how much alcohol you added
You don’t need laboratory records.
A simple notebook or card tucked into the pantry works perfectly.
Personally, I love the idea that five years from now you could flip through your little vanilla notebook and see exactly how your Mother Jar grew.
There’s something wonderfully old-fashioned about that.
The Mother Jar Becomes Your Vanilla Workhorse
Here’s where all that patience starts paying off.
Once properly matured, your vanilla extract Mother Jar can become the workhorse of your homemade vanilla kitchen.
Need to refill your everyday baking bottle?
Mother Jar.
Want to make a few pretty bottles for Christmas gifts?
Mother Jar.
Planning a weekend baking marathon?
Mother Jar.
Holiday baking has somehow consumed every drop of vanilla in the kitchen?
You already know.
Mother Jar.
Instead of constantly starting small batches from scratch, you have a larger supply quietly working in the background.
That’s exactly why I love keeping mine separate.
The Mother Jar has one job.
Make beautiful vanilla.
Can You Keep a Mother Jar Going for Years?
Yes, a well-maintained Mother Jar can become a long-running kitchen project.
However, that doesn’t mean keeping the exact same beans forever while endlessly pouring fresh alcohol over them.
The Mother Jar itself continues, but what’s inside evolves.
Fresh vanilla beans are added.
Older, depleted beans can be removed.
Mature vanilla comes out.
Fresh alcohol goes in.
Then you give everything more time.
That’s how you keep the jar useful instead of eventually creating one enormous container of vaguely vanilla-flavored vodka.
Nobody asked for that.
My Simple Mother Jar Rules
If you remember nothing else, remember these:
- Use good vanilla beans.
- Measure your beans by weight.
- Use alcohol suitable for vanilla extraction.
- Keep your vanilla beans submerged.
- Store your Mother Jar somewhere cool and dark.
- Give the jar an occasional gentle shake.
- Replace alcohol thoughtfully as you use the extract.
- Add fresh beans when your Mother Jar needs them.
- Give newly added alcohol time to extract.
- Keep track of what you add and when.
Most importantly, don’t overcomplicate it.
Good beans.
Good alcohol.
A big glass jar.
And plenty of time.
That’s the heart of homemade vanilla.
The Beauty of a Jar That Keeps Going
Maybe this is why I love the Mother Jar so much.
It feels wonderfully old-fashioned.
You make something today knowing you won’t fully appreciate it tomorrow. Instead, you tuck it away, check on it occasionally, give it what it needs, and wait.
Eventually, that big beautiful jar becomes part of your kitchen.
Years from now, your Mother Jar might still be sitting in the pantry.
Different beans may be inside.
You may have replenished the alcohol dozens of times.
And somewhere behind that jar are countless batches of cookies, cakes, cupcakes, buttercream, Christmas treats, and homemade gifts.
I love that.
The vanilla extract Mother Jar isn’t simply another bottle of vanilla.
It becomes part of the rhythm of your kitchen.
And some of the best things around the hearth aren’t meant to be rushed.
They’re meant to be tended.
One bean, one bottle, and one good shake at a time.
Around the Hearth
Do you already have a Mother Jar going, or did I just convince you that your vanilla pantry needs one?
What would you put in yours?
Madagascar beans with vodka? Tahitian beans with rum? Maybe a rich bourbon batch?
Tell me in the comments because I want to know what’s steeping in everyone else’s pantry.
And save this post and share it with your favorite baker. Especially the friend who keeps buying those tiny bottles of vanilla.
We may need to stage an intervention.
The Vanilla Pantry
If you’re just joining us, The Vanilla Pantry is my guide to learning homemade vanilla and extracts one jar at a time.
We’ve talked about the story behind the bean, met different vanilla varieties, learned how to choose quality beans, picked our alcohol, and explored bottles and jars.
Now we’ve met the big girl behind it all.
The Mother Jar.
And she’s ready to get to work.
Stay awhile. There’s always something steeping around the hearth.